01
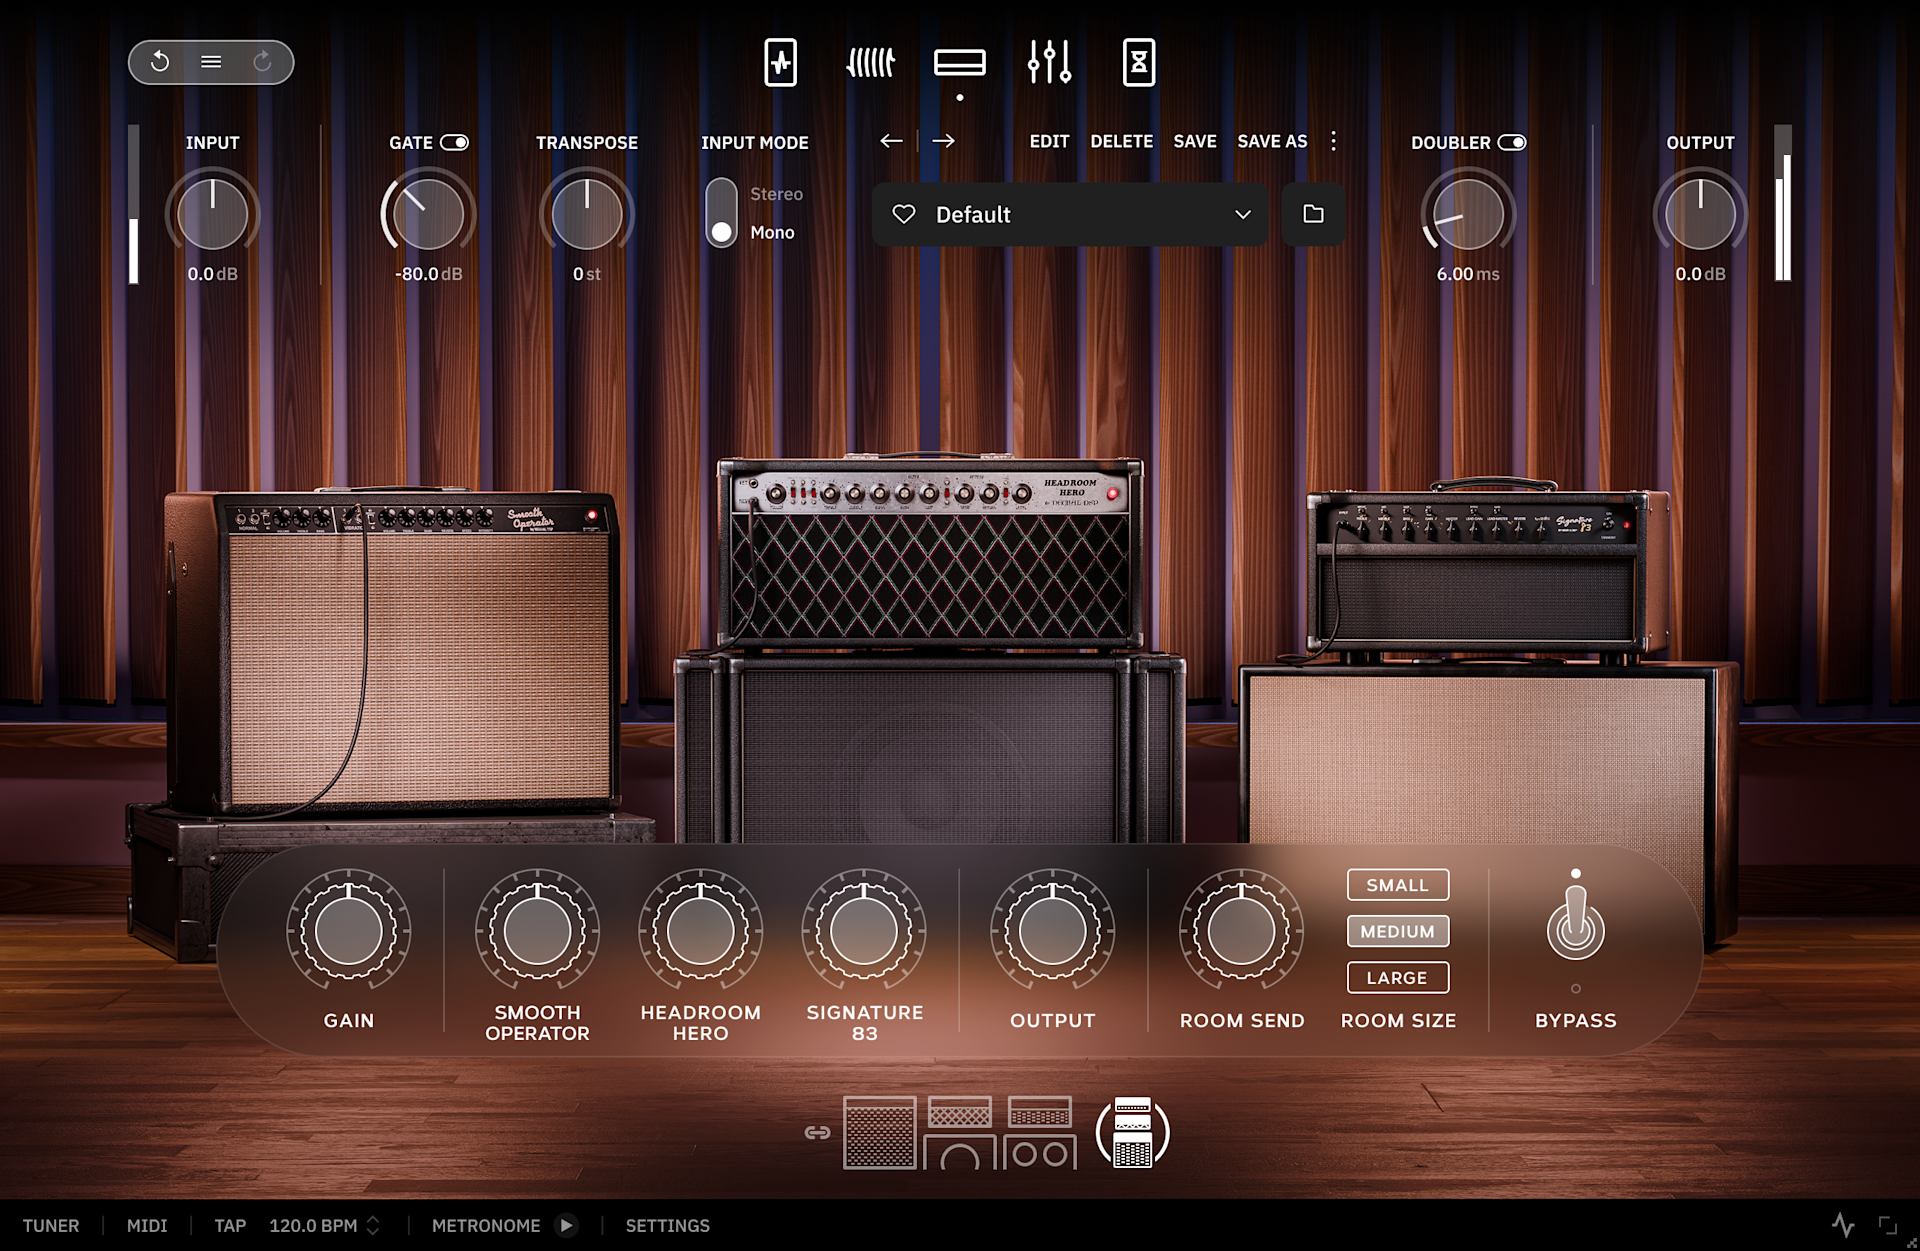
Archetype: John Mayer X
When an artist spends decades refining a voice as personal and unmistakable as John Mayer’s, every detail matters. Touch, phrasing, restraint, and tone become inseparable from the music itself, shaped through years of writing, recording, and performance.
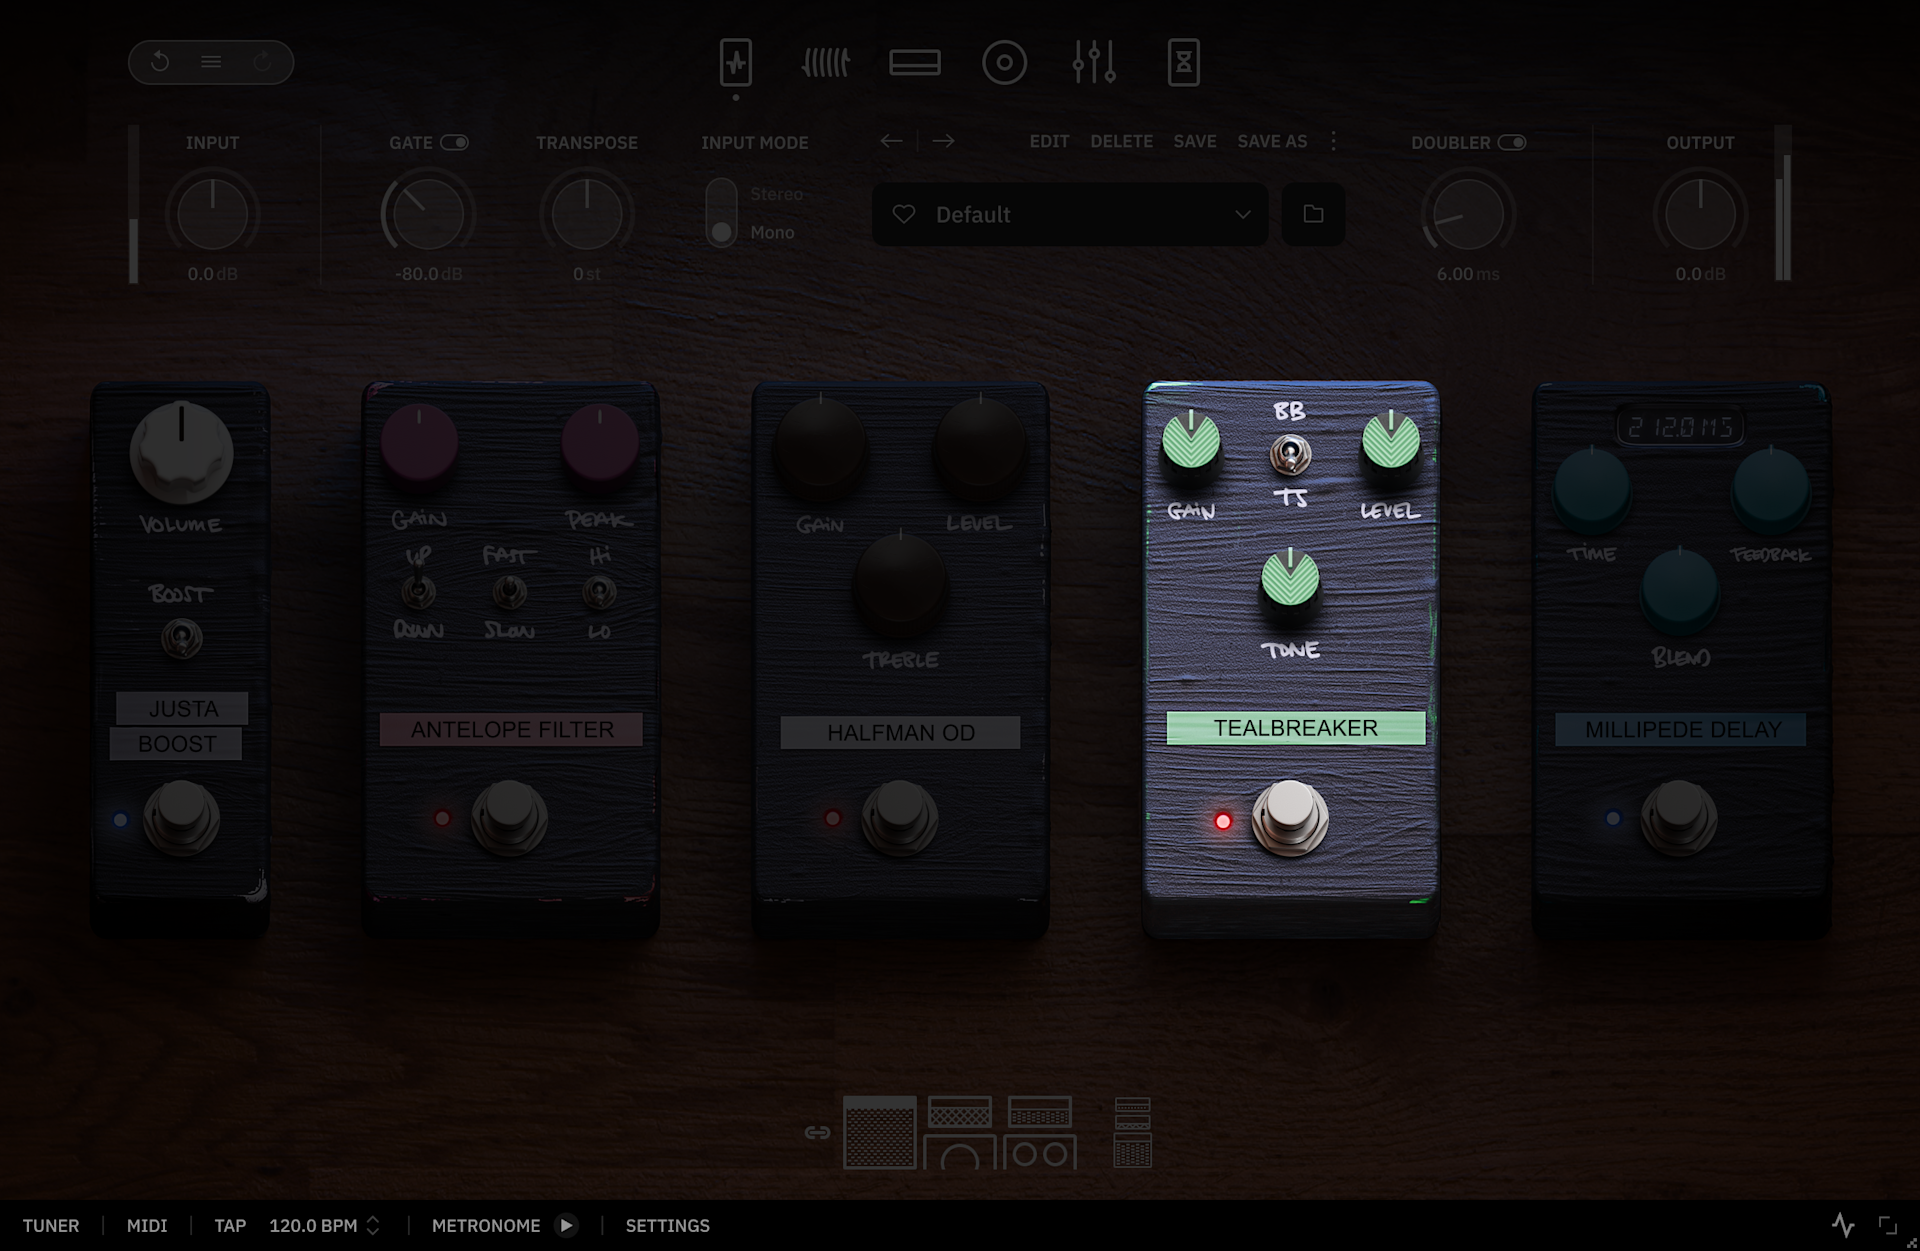
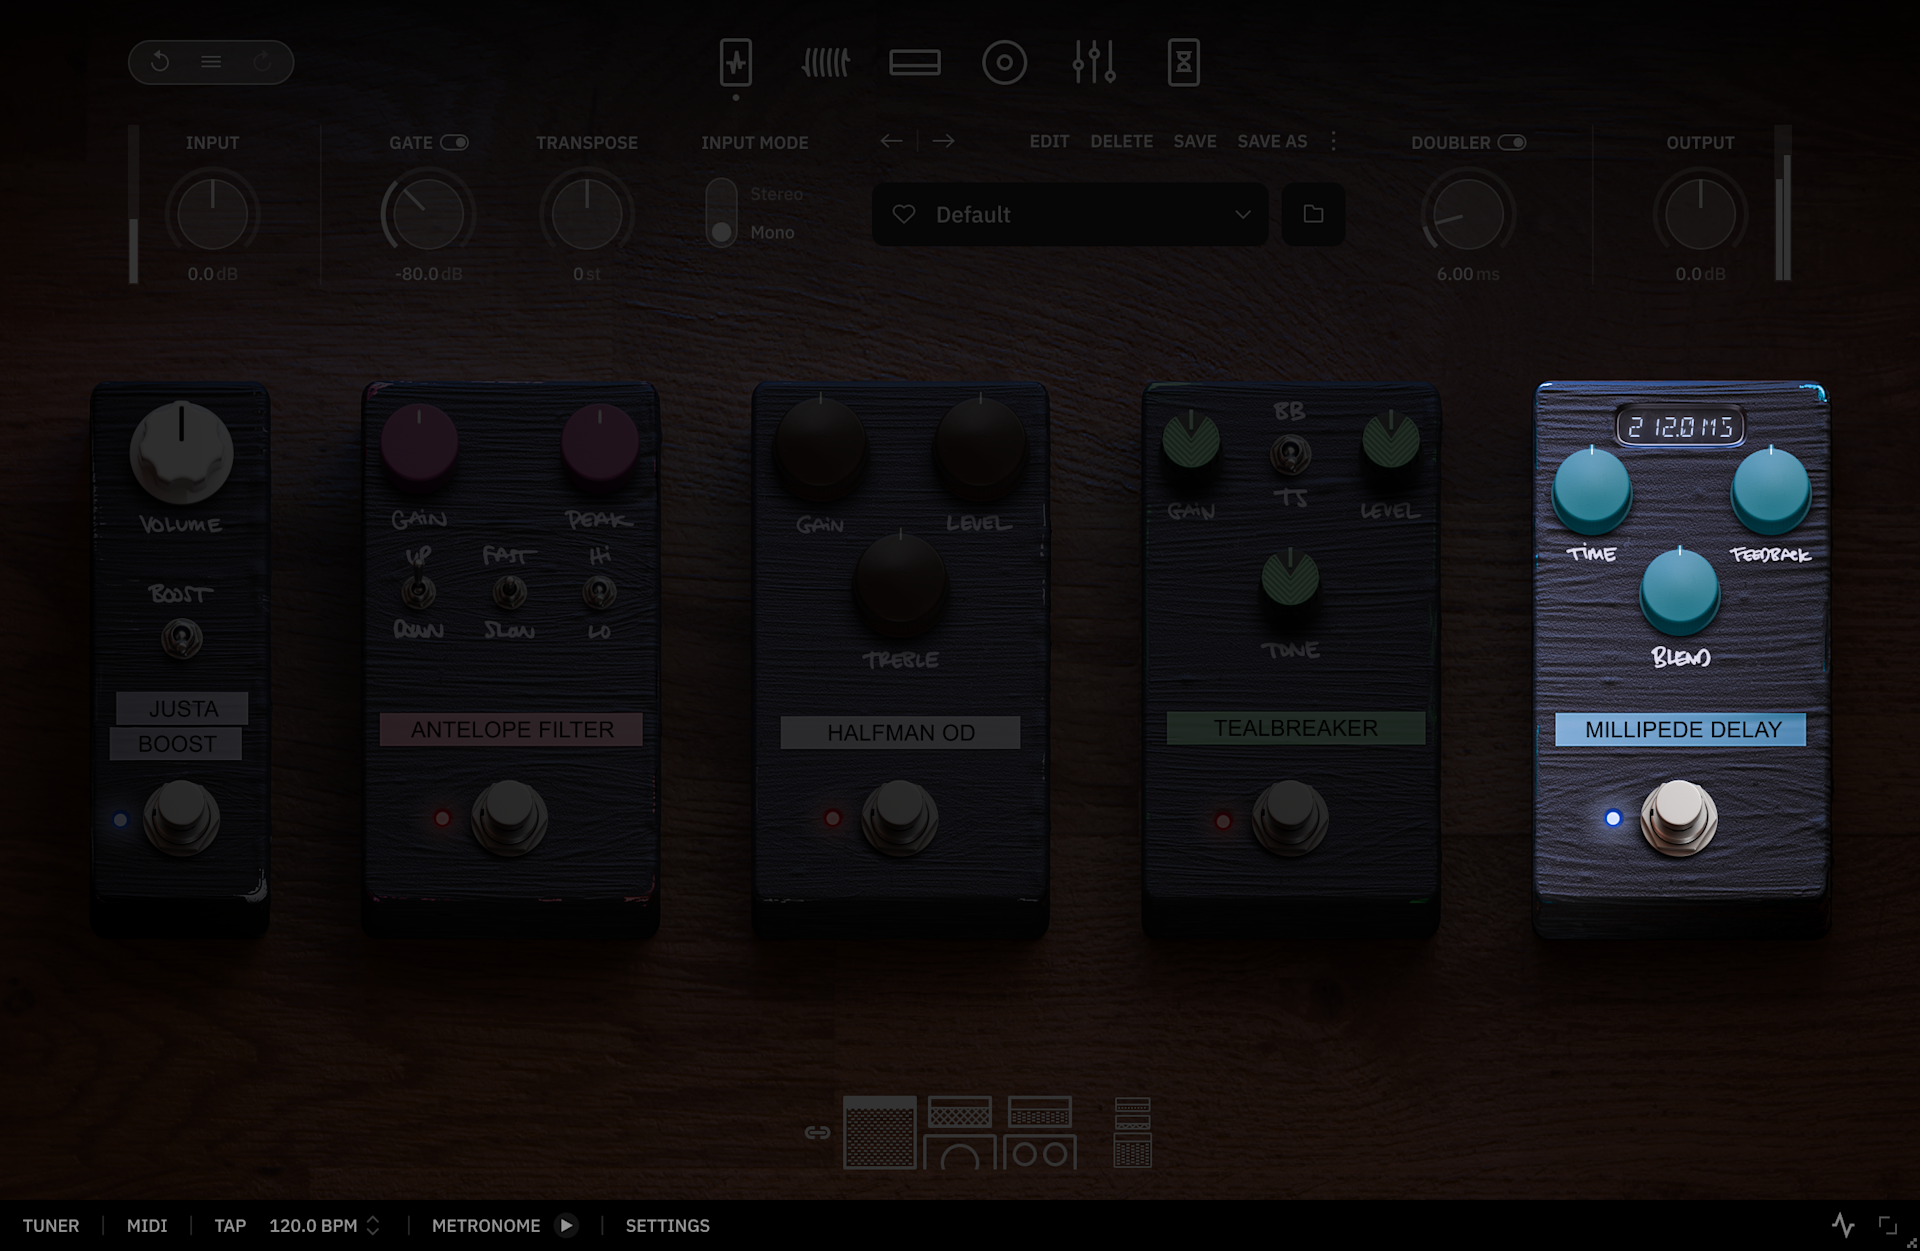
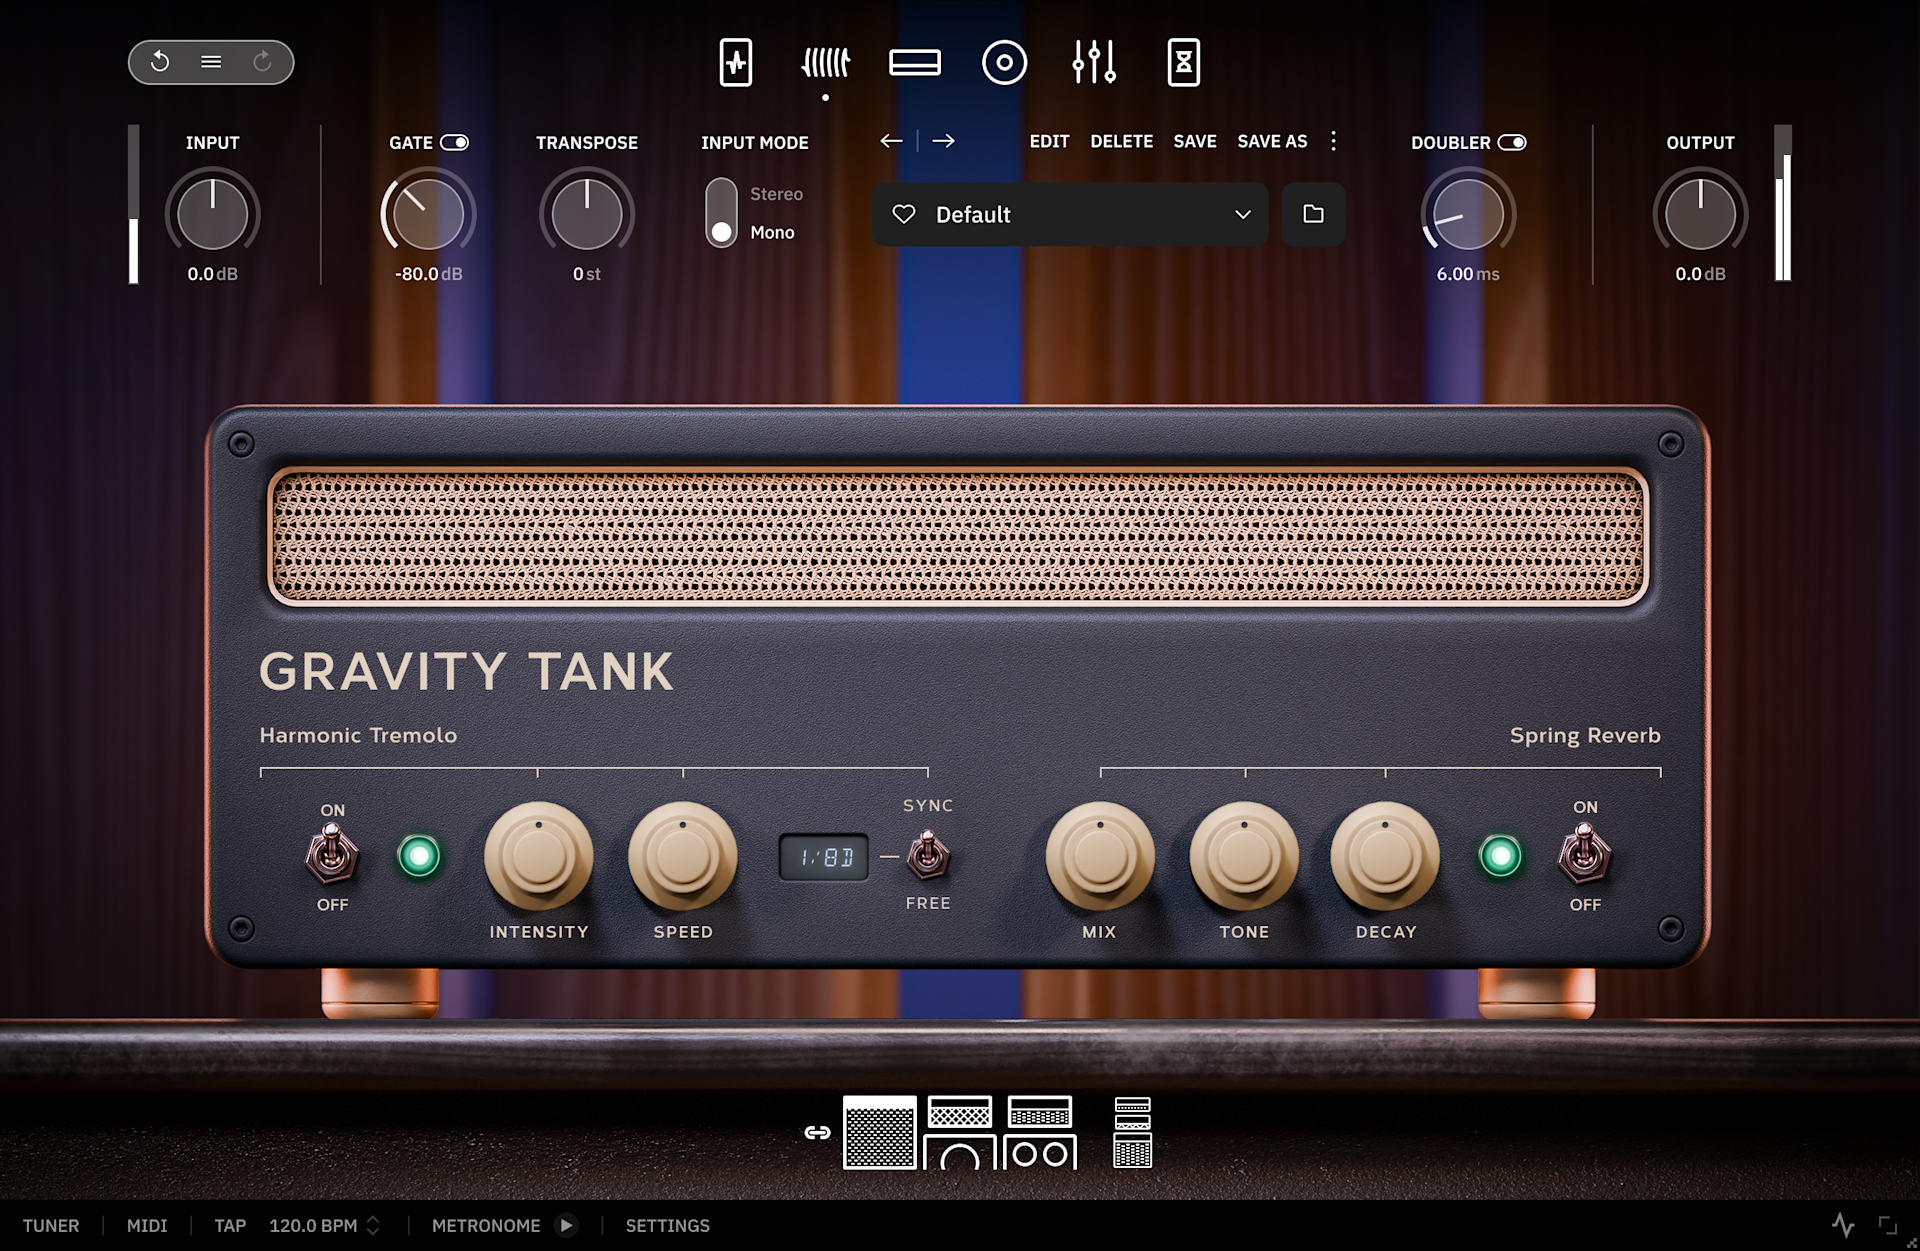
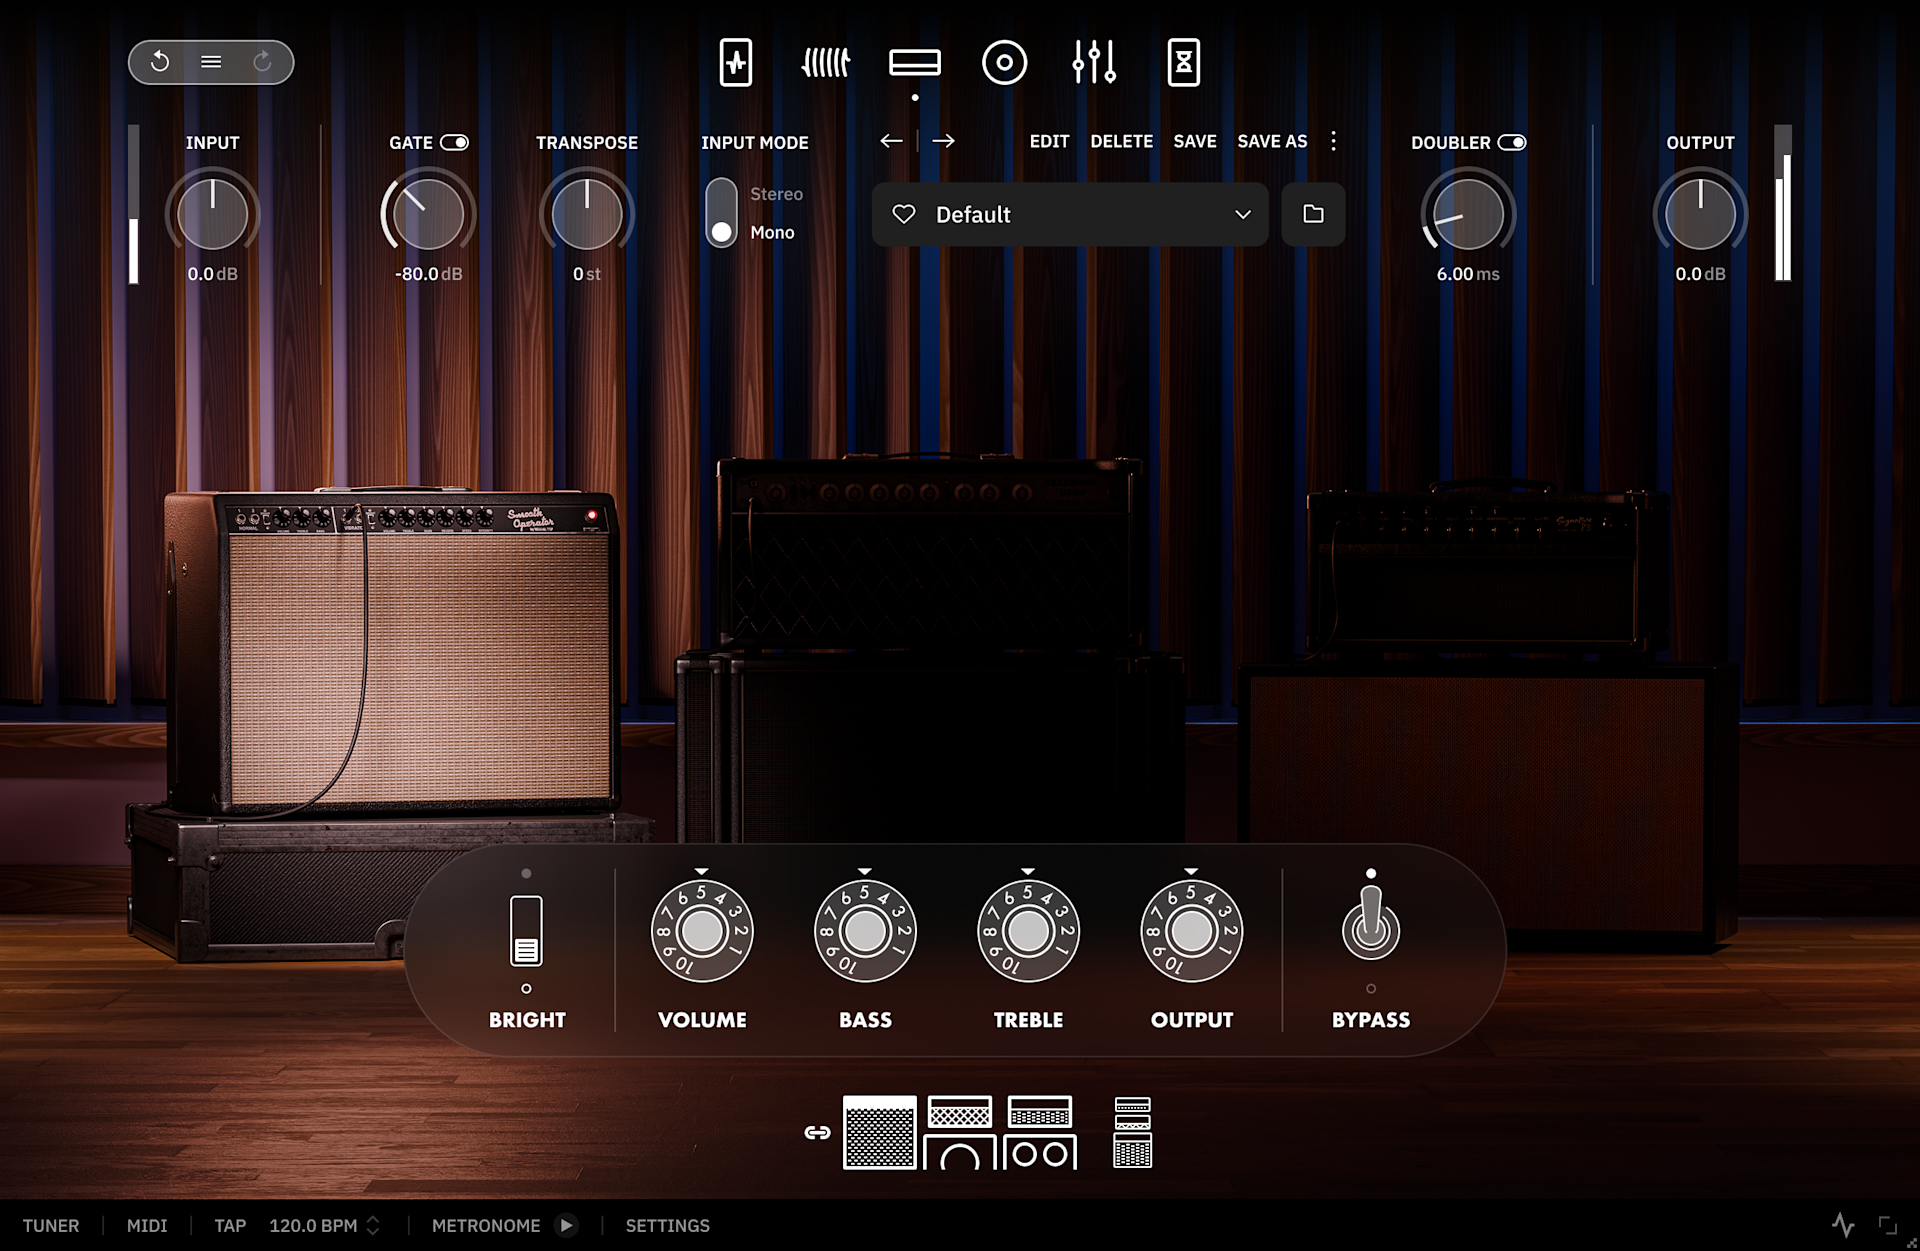
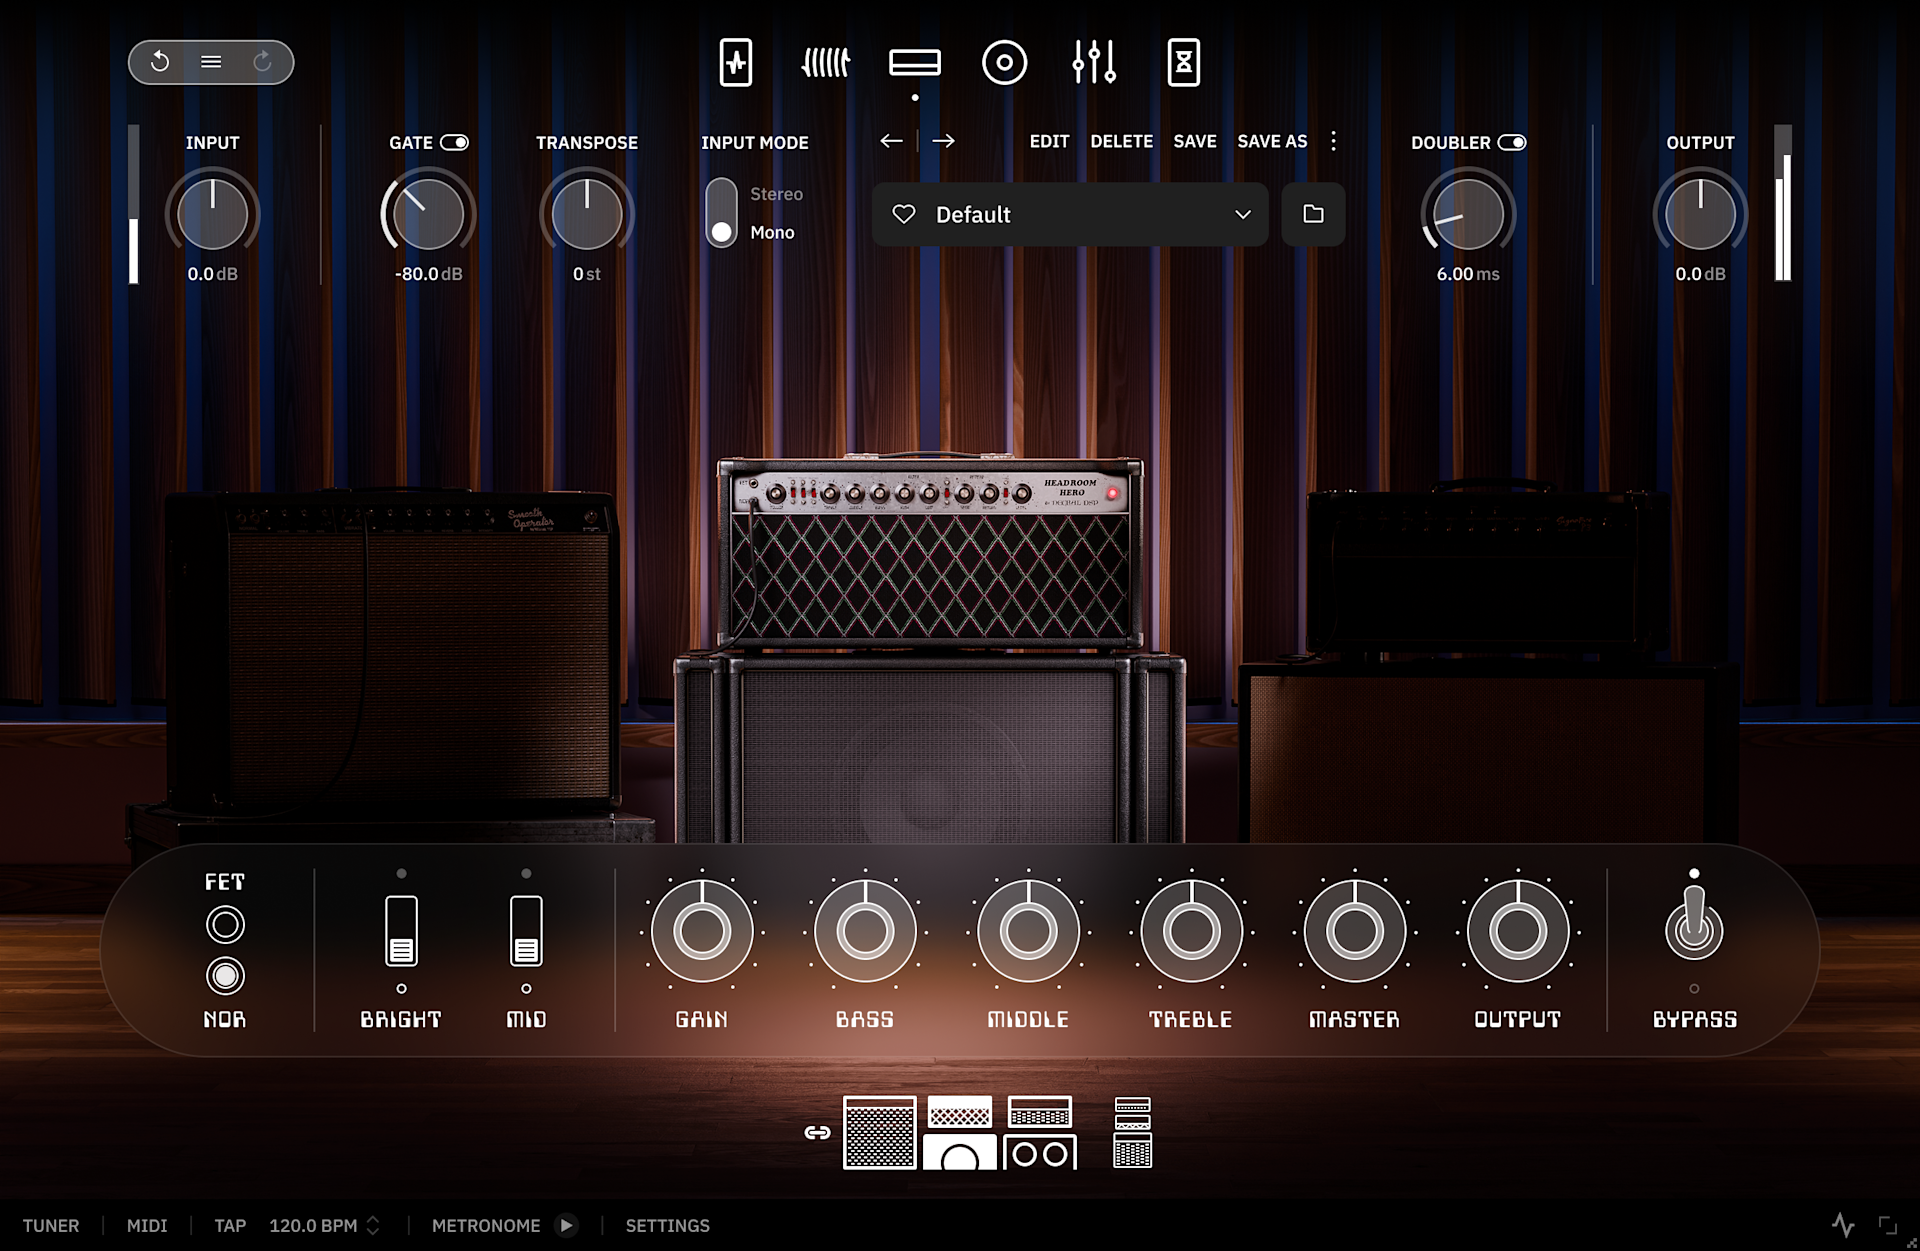
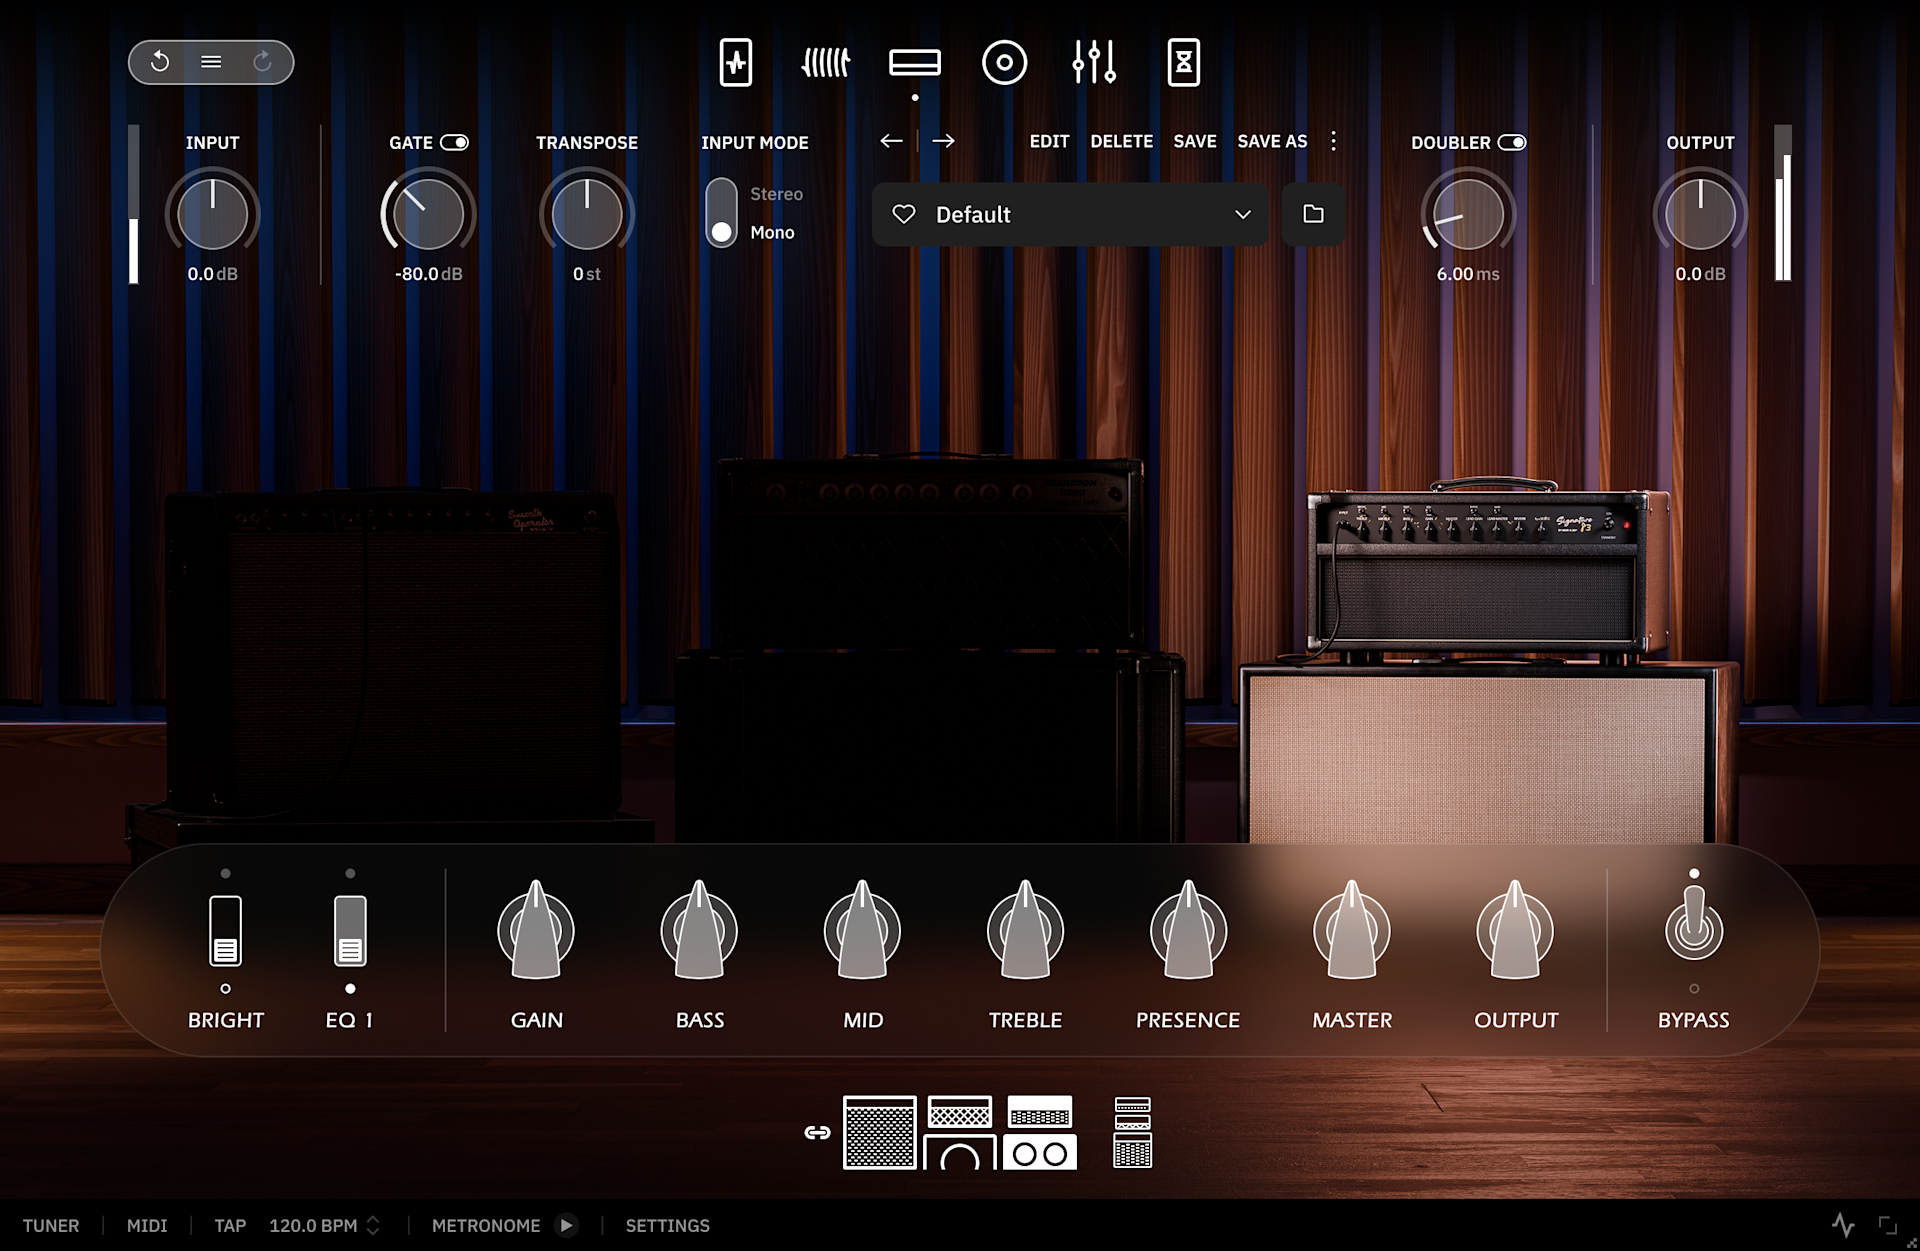
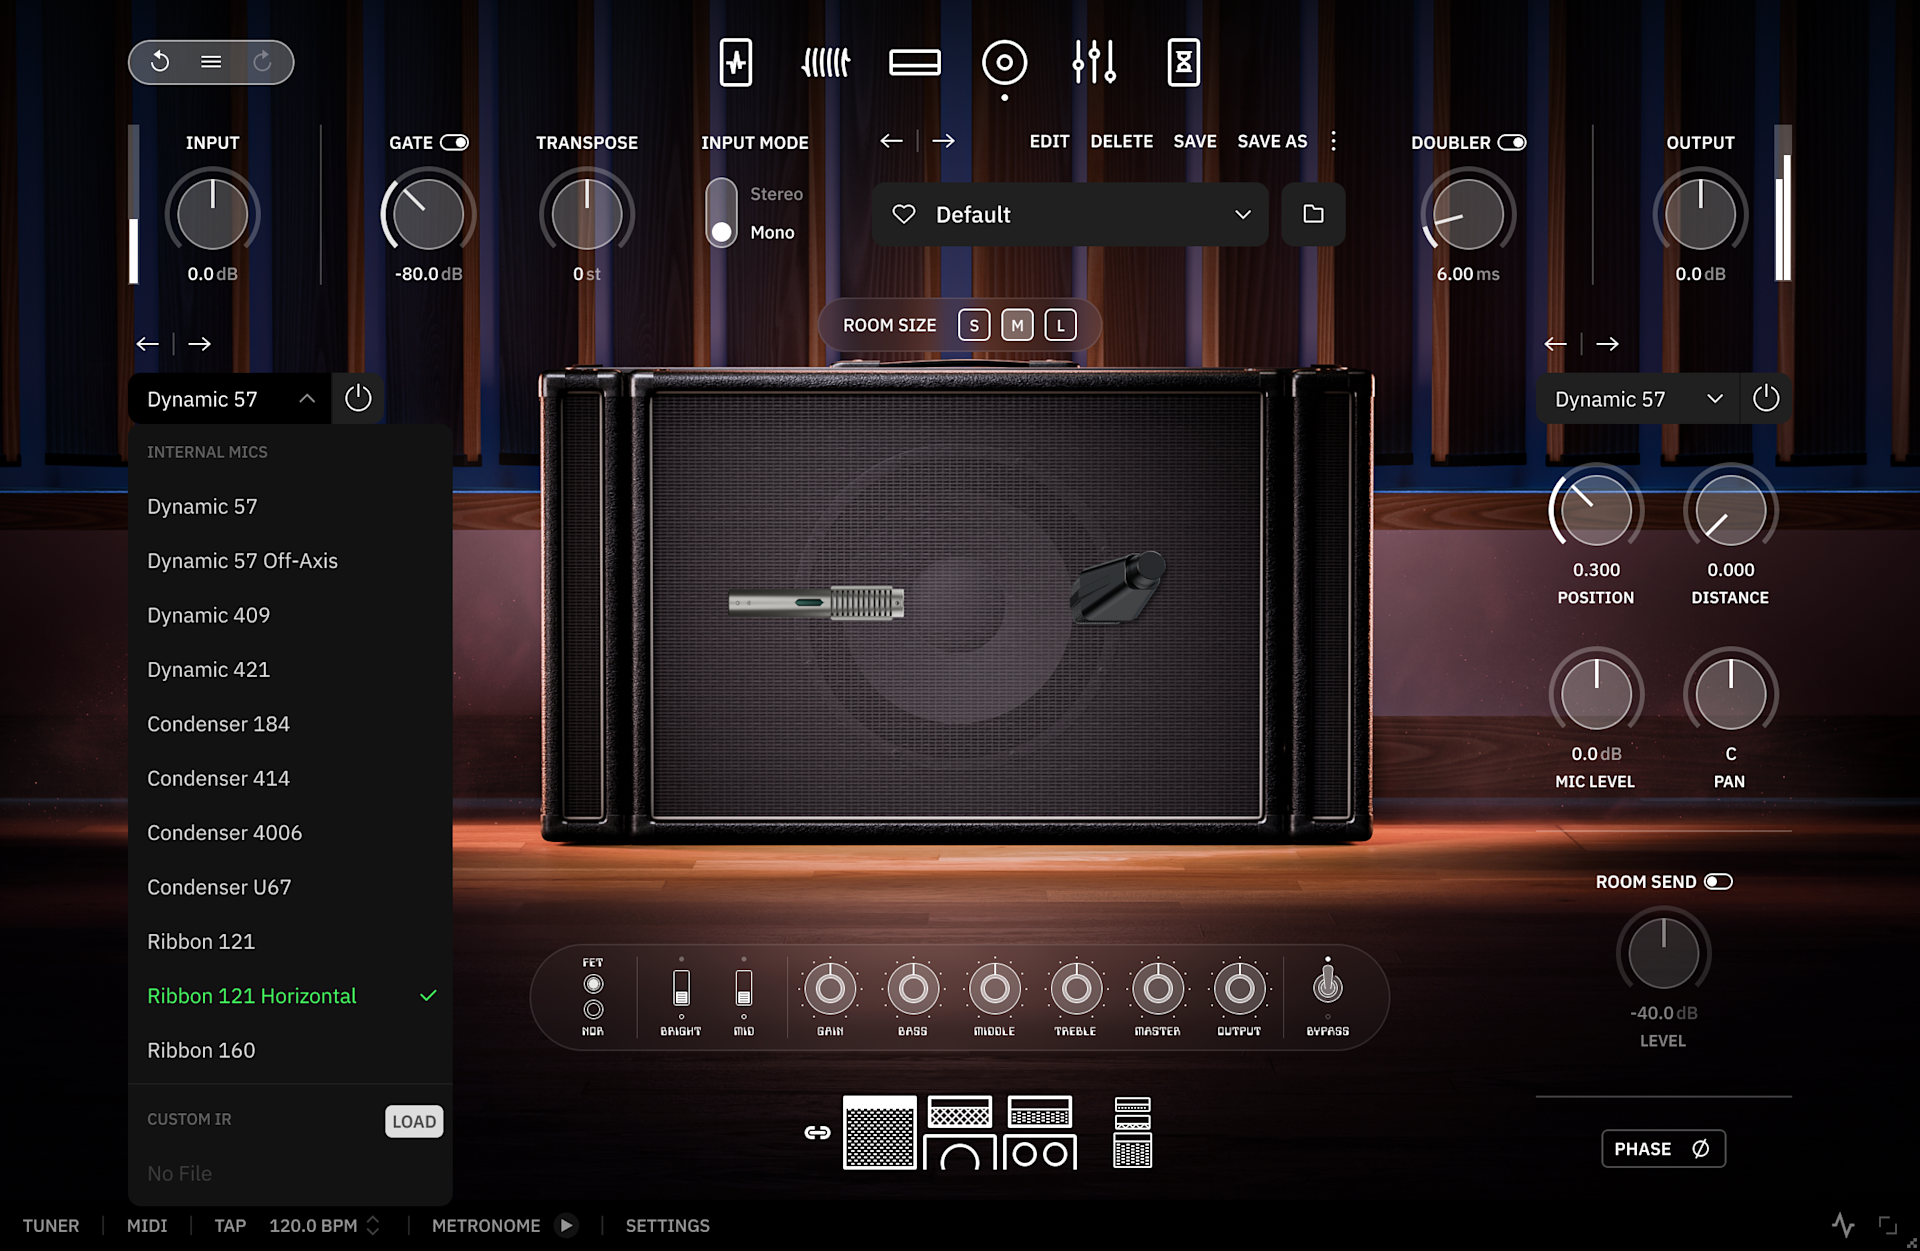
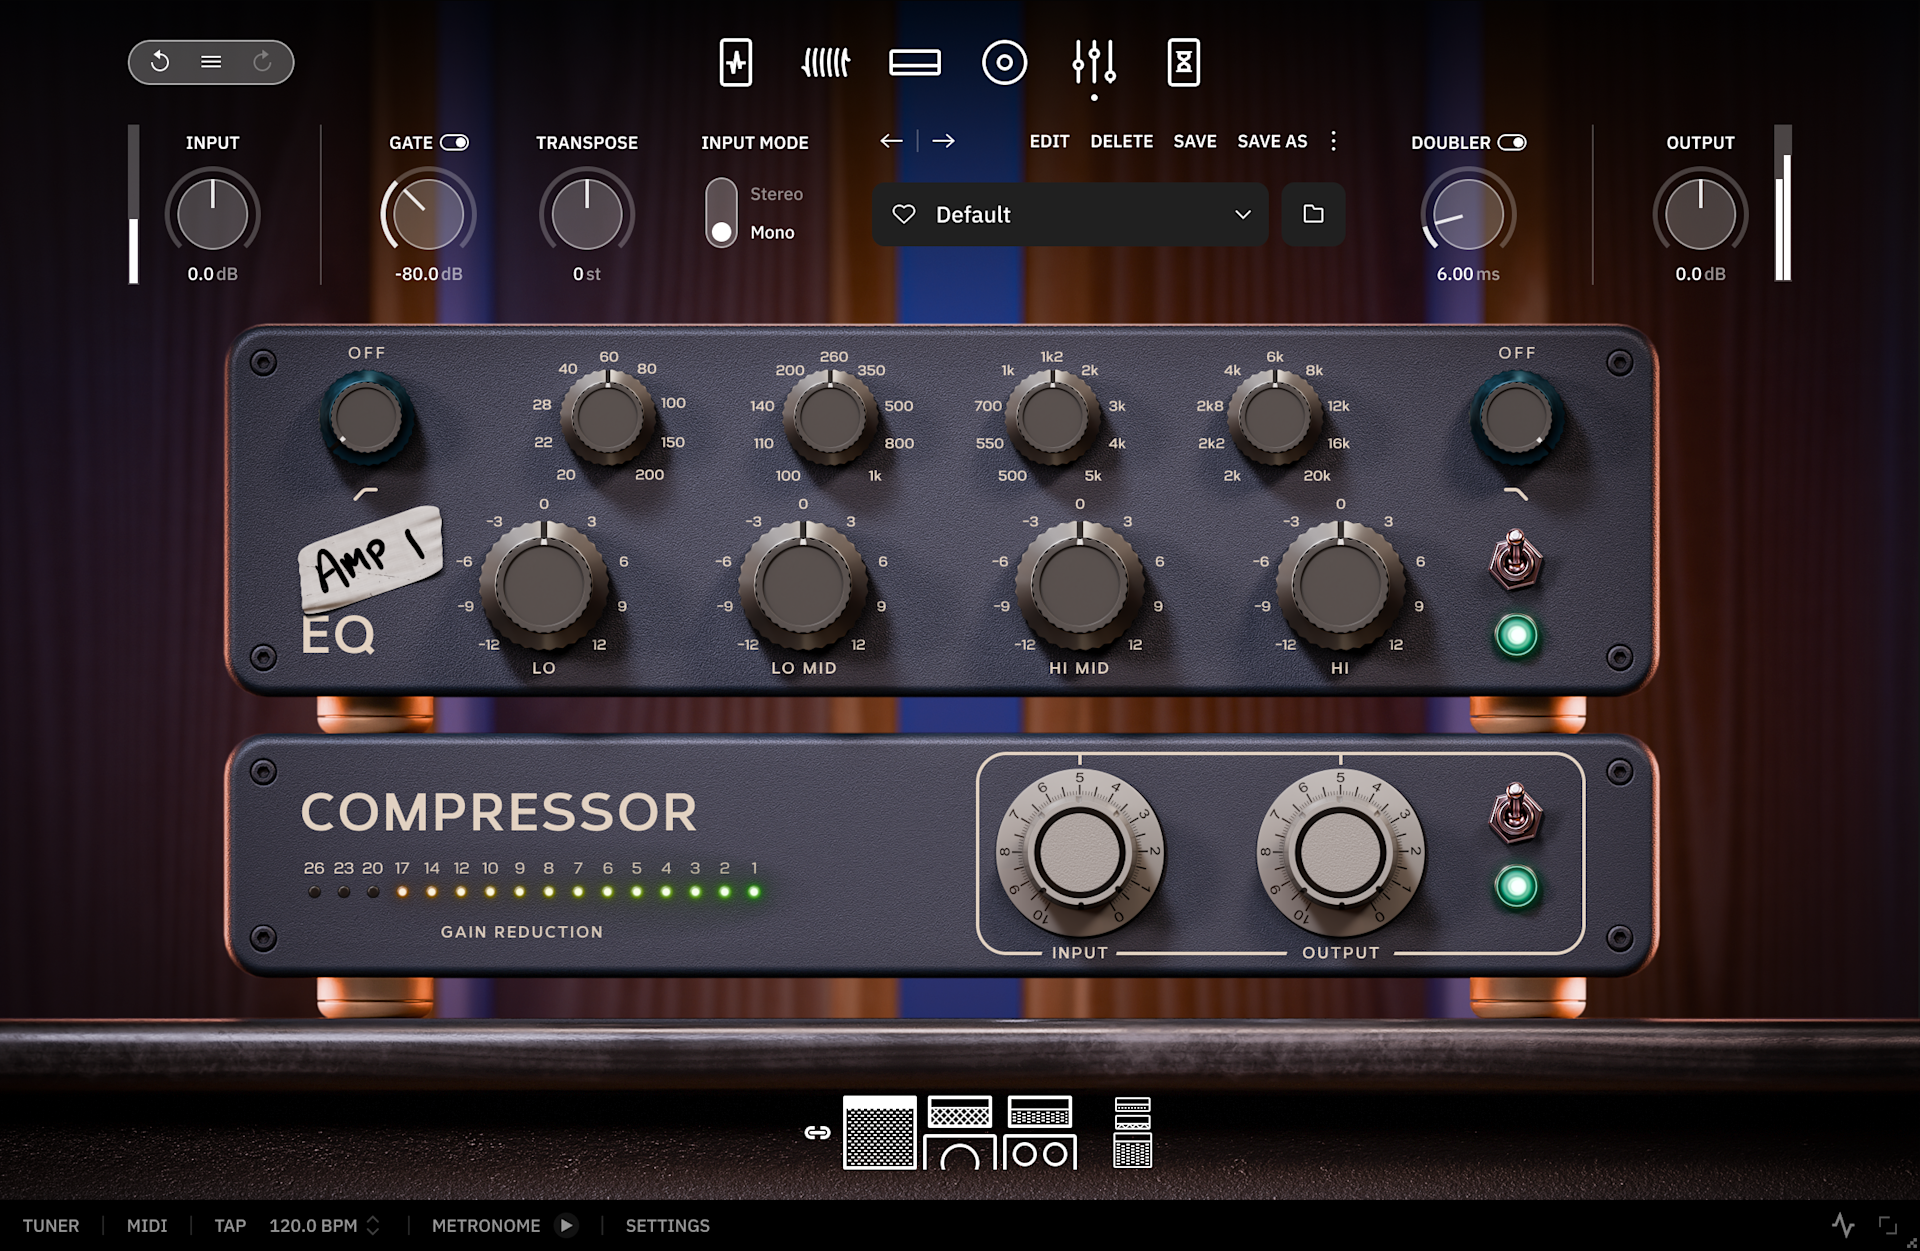
That pursuit has resulted in one of the most extensive and carefully curated collections of guitar equipment in existence. Taken as a whole, John’s gear could live behind glass as a museum exhibit; rare, historically significant, and in many cases impossible to replace. But within that collection exists a far smaller group of pieces; the tools he reaches for instinctively, refined through constant use rather than preservation.
John is also known as a committed purist, not out of nostalgia or resistance to change, but out of a deep respect for the guitar and its history. His approach celebrates the details: circuits, components, feel, and the subtle interactions that give sound its character. Any new tool, digital or otherwise, has to honor that lineage and meet the same standard of care and intent.
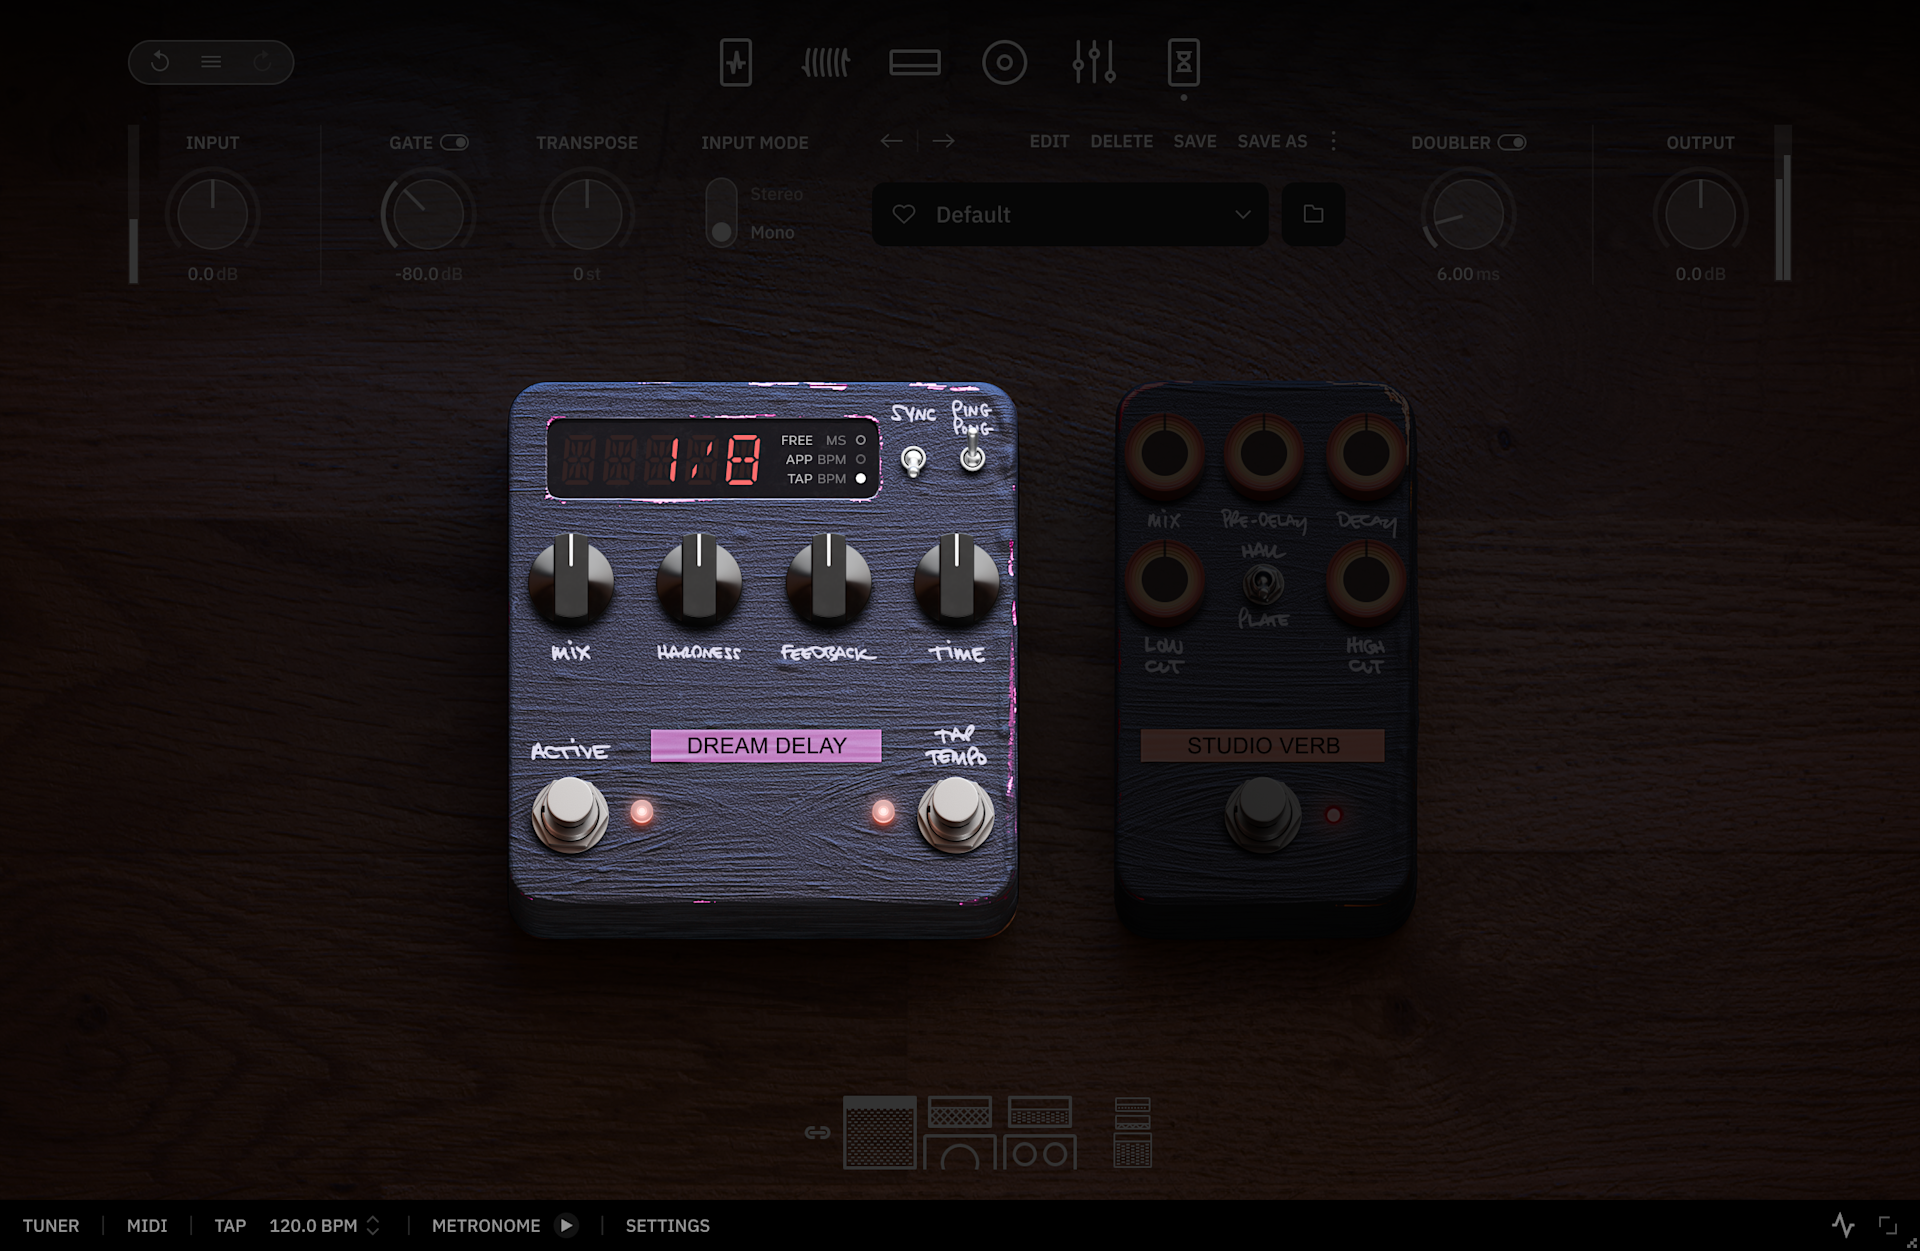
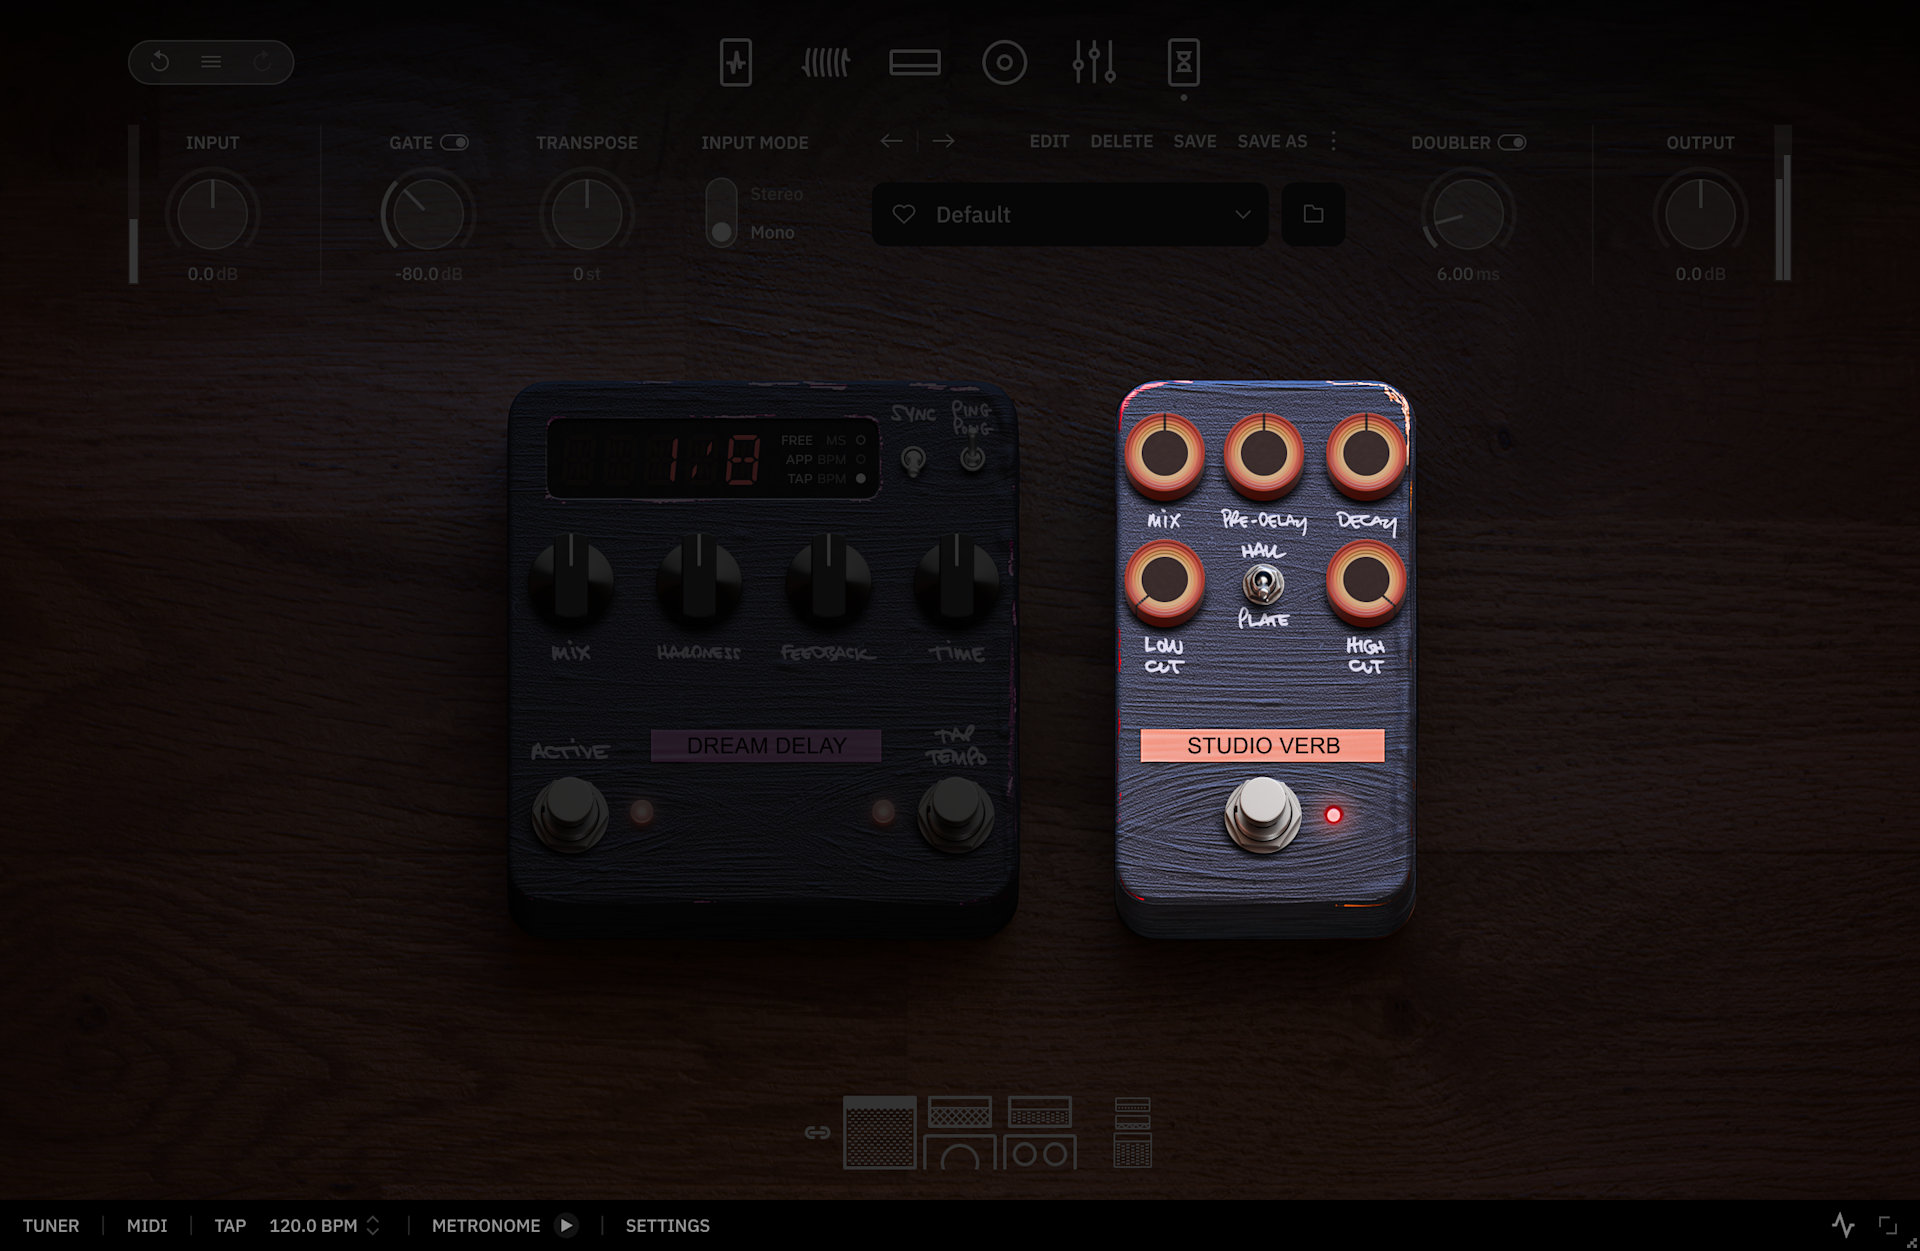
John opened the doors to his personal recording studio in Los Angeles and entrusted us with his most prized tools. These are the pieces at the very center of his sound, refined through constant use and chosen from an extraordinary collection. Distilling that world into a single, uncompromising plugin was one of the most demanding and rewarding collaborations we have ever undertaken.
With sincere thanks to John for his trust and vision, it is with great pride that we present to you Archetype: John Mayer X.